Configuration of Keycloak for use with Cadenza
Objective
These instructions are intended to describe the steps required to set up Keycloak so that it can be used together with Cadenza. The configuration of Cadenza for OpenID Connect is not part of this document. The installation of Keycloak depends on the platform and the type of installation used. Detailed instructions can be found on the Keycloak website.
Installation of Keycloak
Versions of Keycloak
Keycloak is continuously being developed. Disy does not test every single version, but experience to date has shown that updates are usually unproblematic, especially as the standard for the actual authentication procedure OpenID Connect is stable. In any case, a current backup of all relevant content and configurations should always be available before an update.
| Keycloak does only provide patches for the current major version. If you need to ensure that you have access to the latest security patches you must always upgrade the latest major version once it becomes available. |
Instructions for the installation process itself
Before Keycloak can be used with Cadenza, it must be installed correctly on the target platform. The corresponding documentation for Keycloak should be consulted for this purpose.
| A TLS-secured connection must be used to operate Keycloak. |
Configuration of Keycloak
In these instructions, a new realm with the name cadenza is created. If Cadenza should be integrated into an existing realm, this step should be skipped and the realm name must be adjusted in the following steps.
|
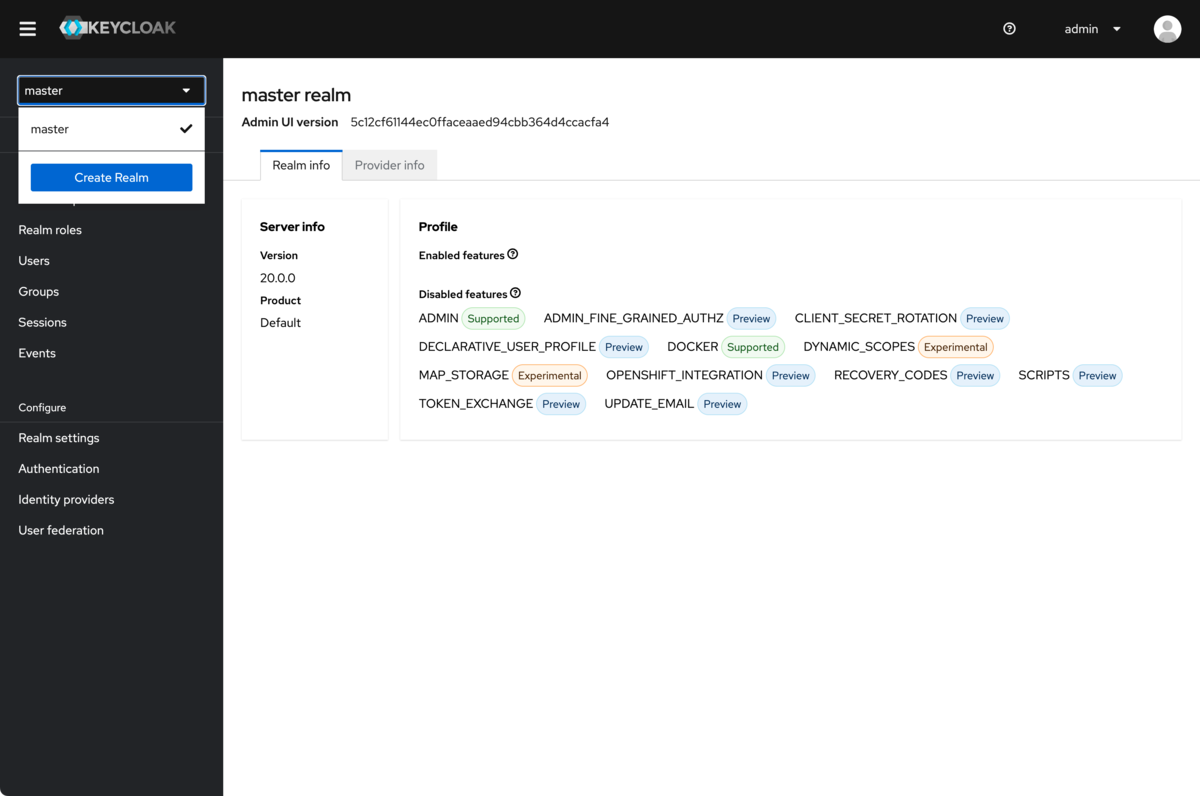
Logging into Keycloak with a user with admin permissions
To be able to create and configure a realm in Keycloak, a user with the appropriate permissions is required.
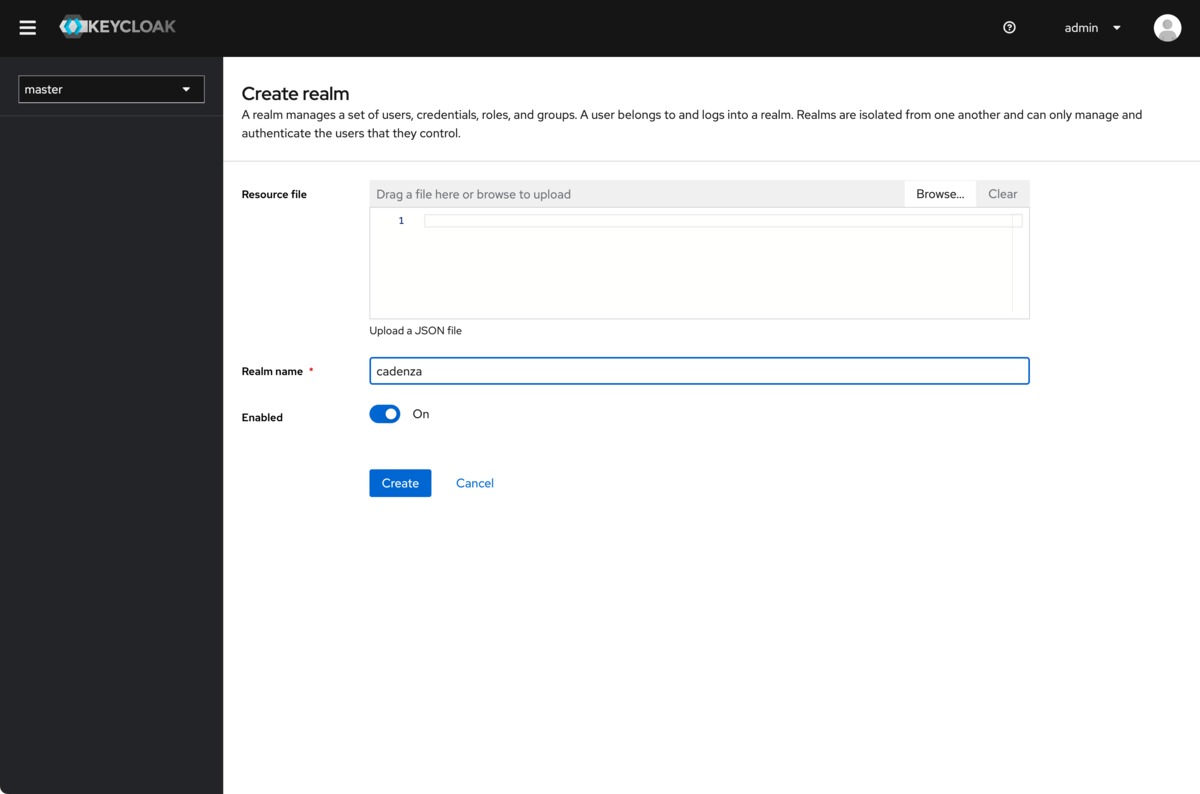
Create a new realm with the name cadenza
If an existing realm is not to be used, a new realm must be created in the first step, which then contains the configuration for Cadenza (users and groups) and the clients for the Cadenza instances connected via OpenID Connect.
-
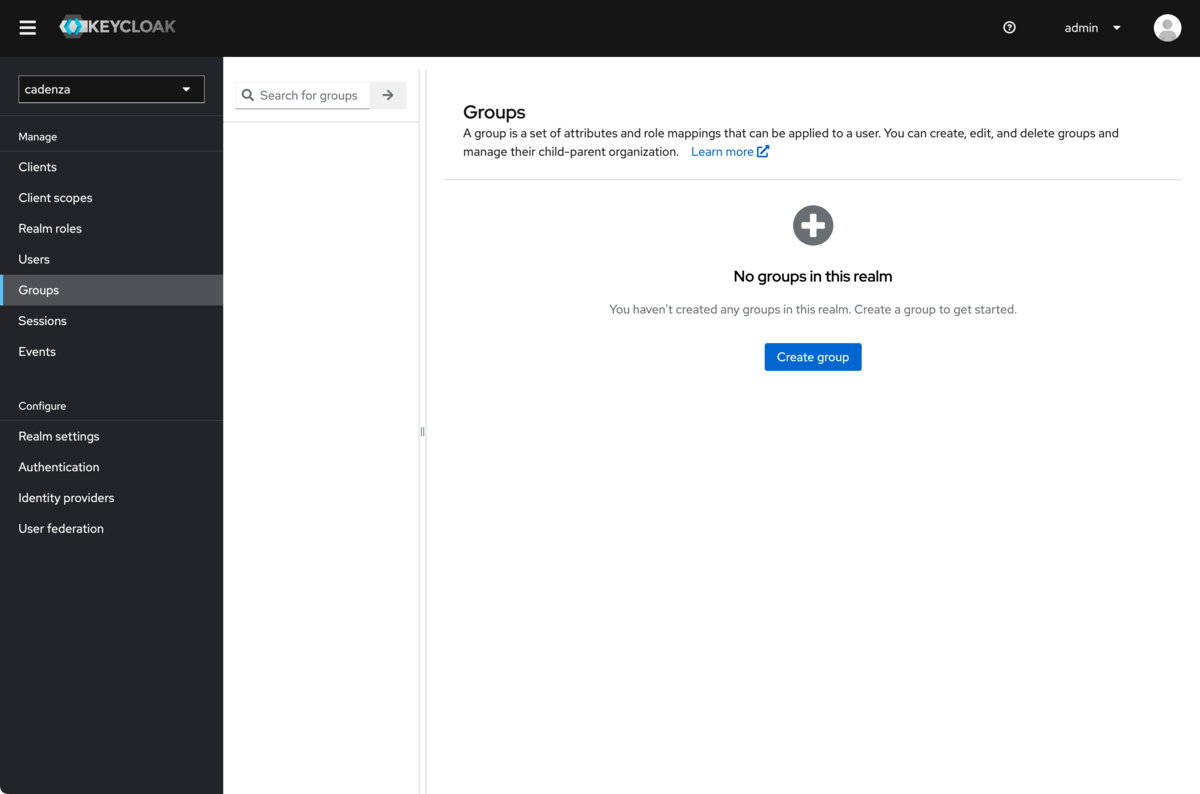
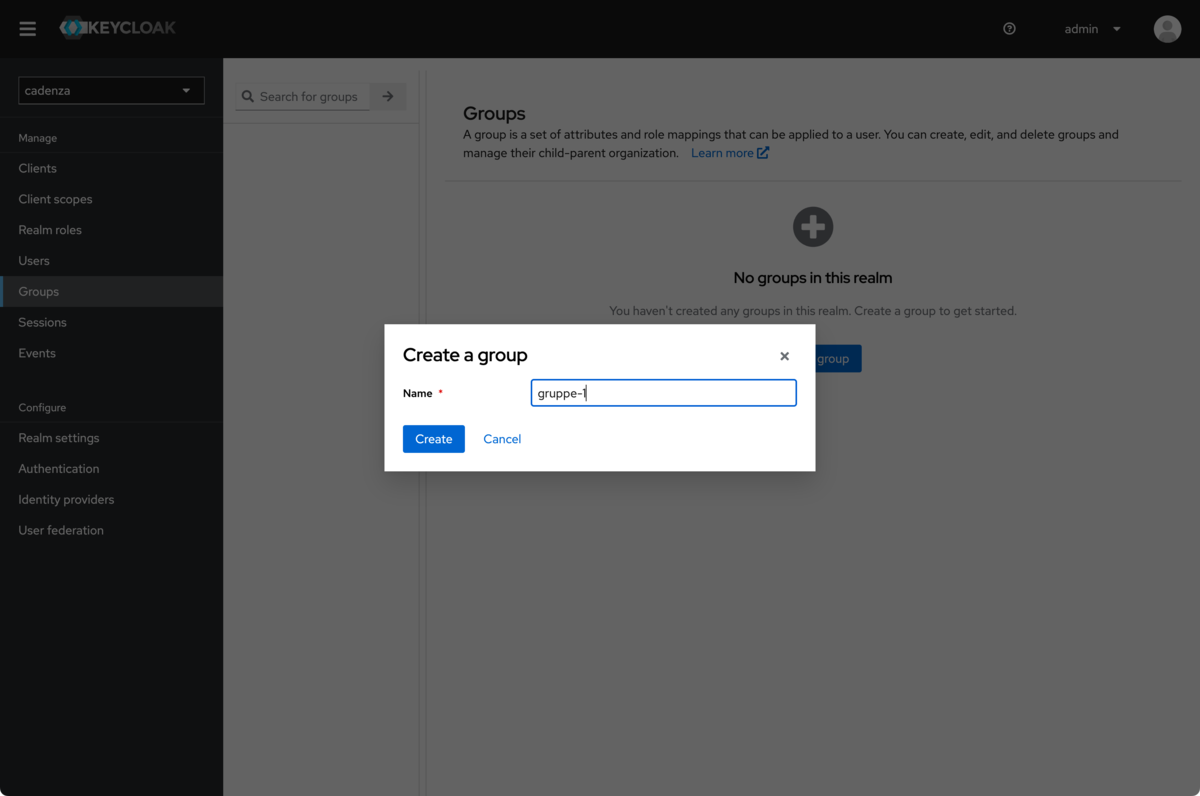
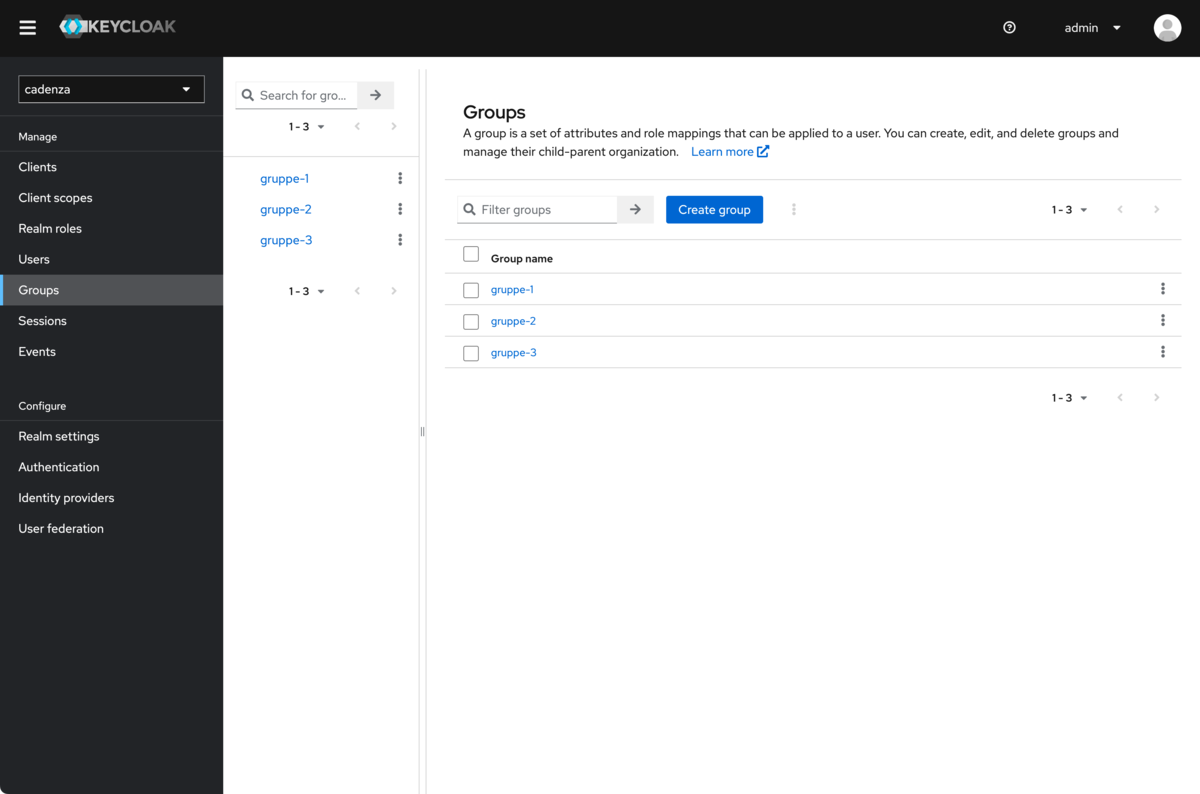
Create the required groups (in this example, the German names
gruppe-1,gruppe-2,gruppe-3are used)
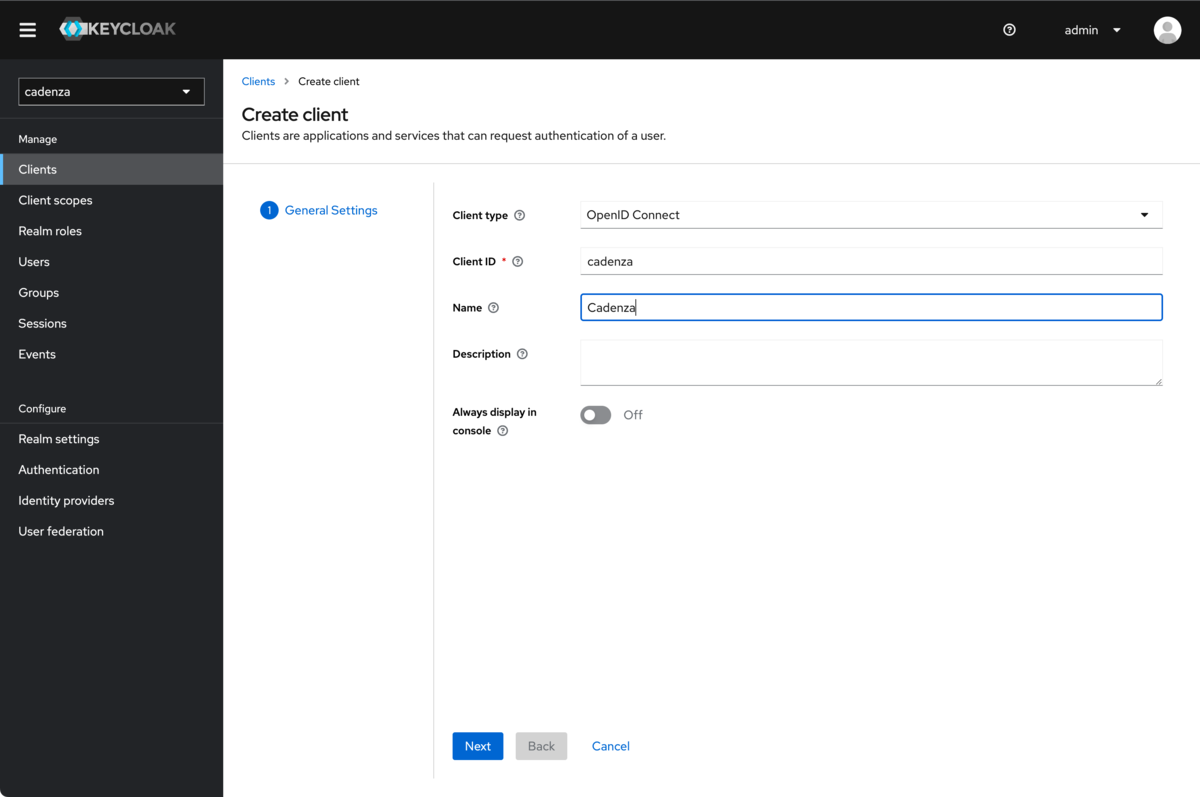
Creating a client
In order for Cadenza OpenID Connect to be able to use Keycloak as an authentication method, the Cadenza instance must be made known to Keycloak as a client. The client ID is important for the next steps. The client name is only relevant in the Keycloak interface and can be given any name.
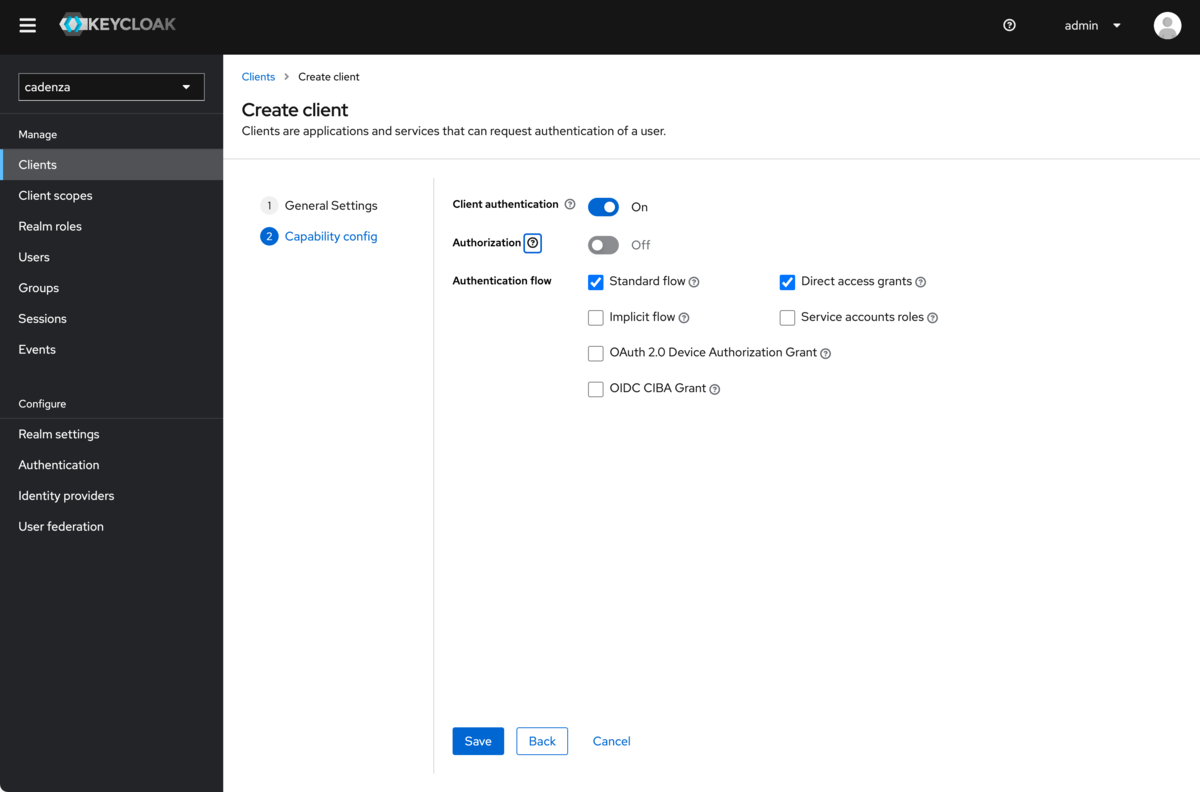
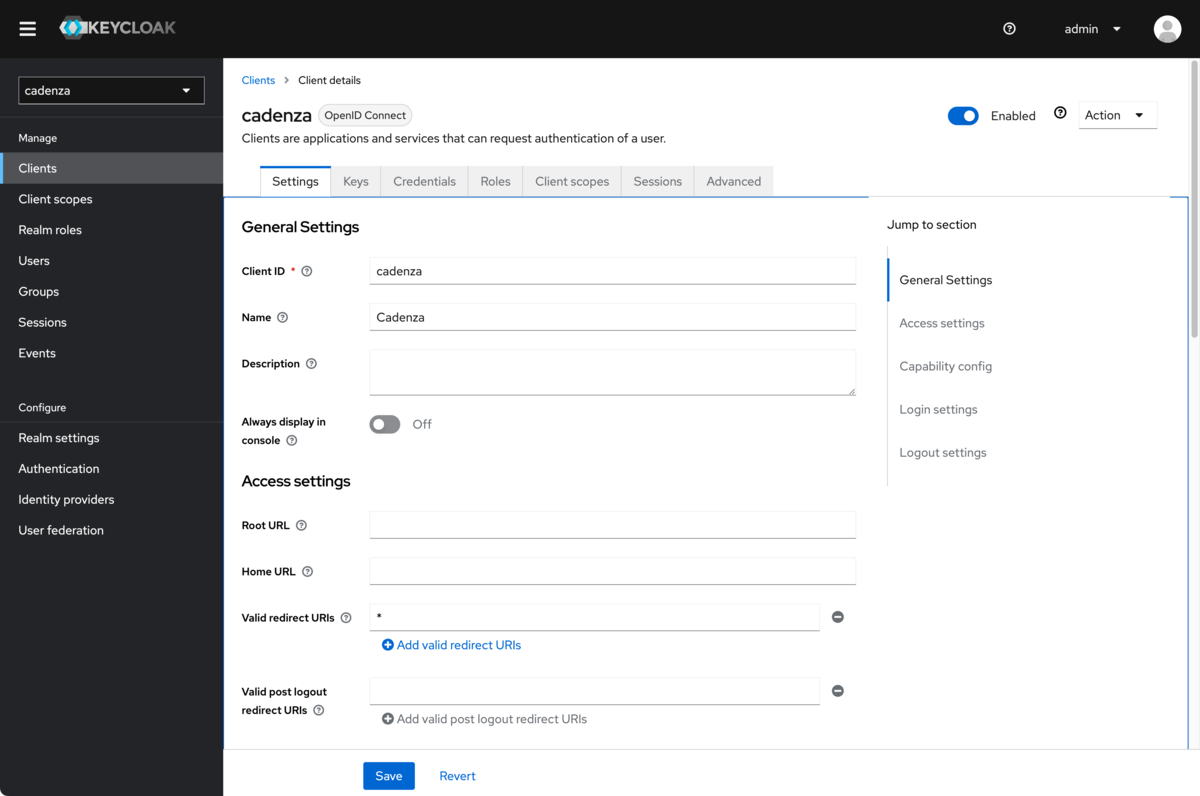
Configuration of the client
In order for Cadenza to work correctly with Keycloak, certain configuration options must be set for the client, which are shown and explained in the following screenshots.
-
The
Client Authenticationoption must be active
-
Use
/cadenza/OAuth/callbackHandler(changecadenzato your value if you have changed the context path name) forValid Redirect URIs. Depending on your Keycloak configuration you might be required to enter the URL including the server name and the protocol (e.g.https://example.org/cadenza/OAuth/callbackHandler). -
After configuring the above options, the client ID must be noted from this page as input for the Cadenza configuration.
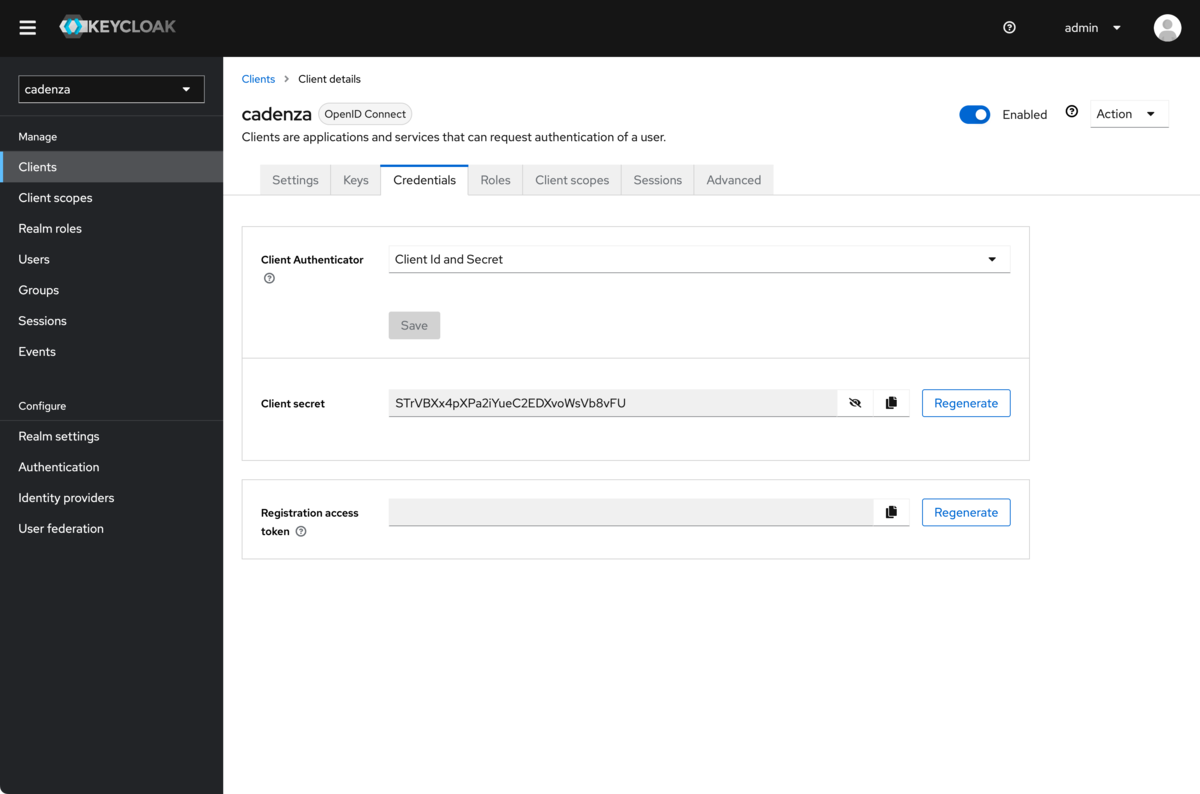
-
After creating the client, the client secret (required for further configuration in Cadenza) must be noted from this page.
Creating a mapper to display the groups
A mapper must be added to the created client so that the groups assigned to a user are displayed in the access token and ID token.
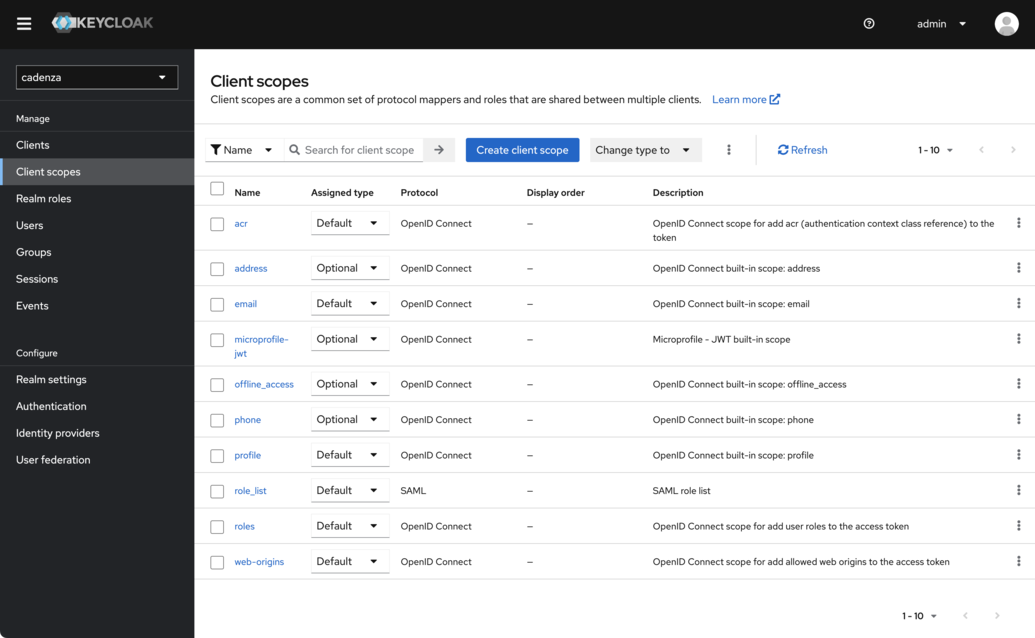
-
Call up the Client scopes tab for the realm
-
Add a new client scope
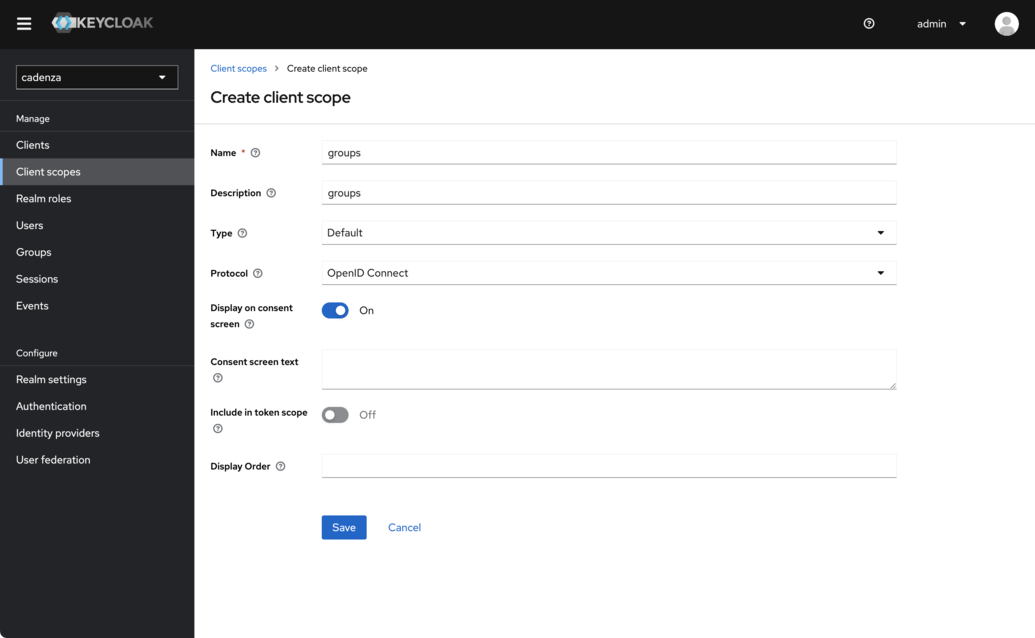
Create client scope
-
Name the new client scope
groups -
Select
DefaultforType. This is important because otherwise the groups will not be included in the default scope -
Save the new client scope
-
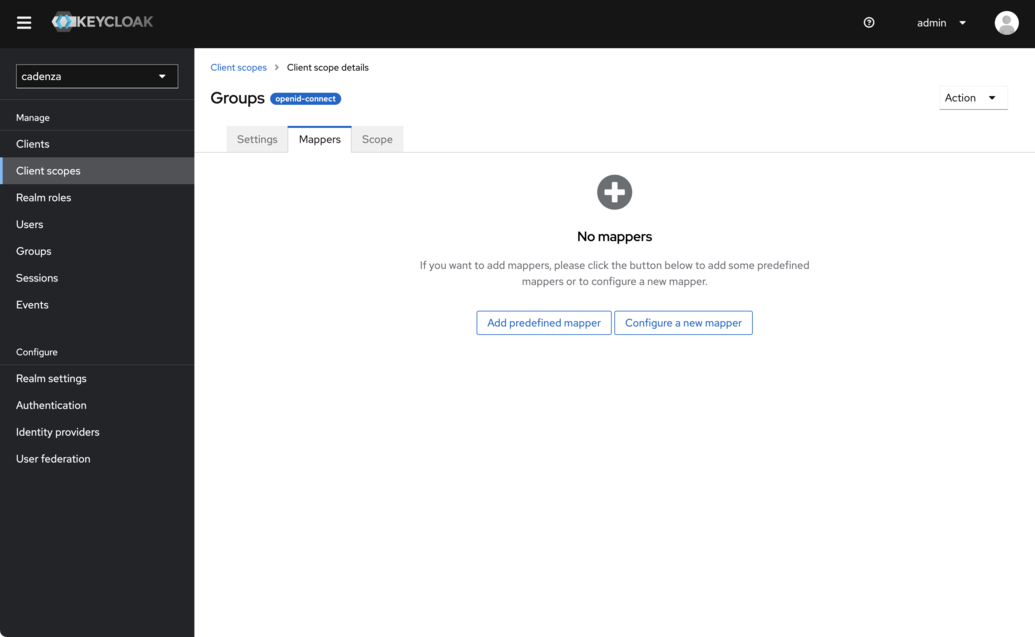
Select the tab
Mappers -
Choose
Configure a new mapper
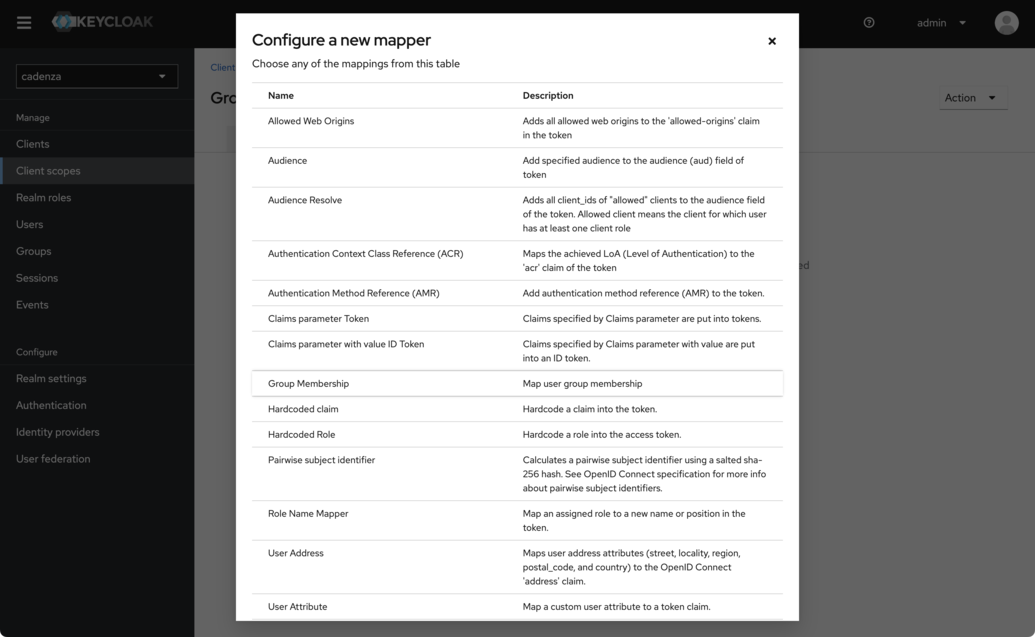
-
Choose
Group Membership
-
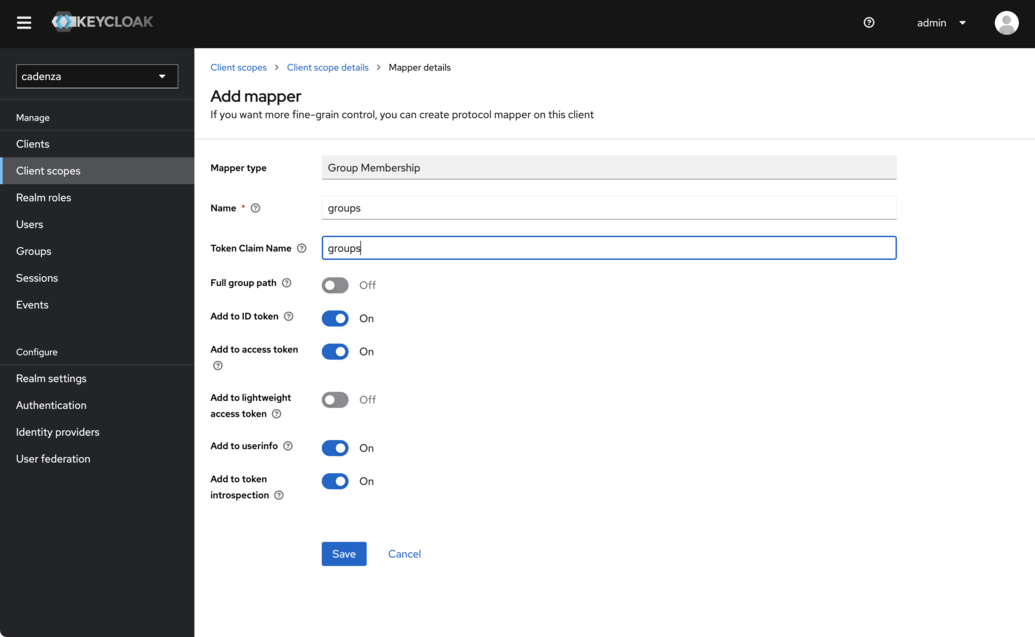
Configuration of the necessary properties of the mapper
-
The name is arbitrary and does not appear in the tokens. A meaningful name should be assigned here.
-
The
Token Claim Nameis the name that will later be used by the cadenza client. We will usegroupsin this example -
It is important that the option
Full group pathis deactivated, as the group names are otherwise prefixed with a slash (/).
-
-
Result

Adding the Groups Mapper to the Cadenza Client
| If the mapper has been created after creating the client for Cadenza you must follow the steps below to add . |
| If the mapper has been created as default type it will be added to newly created clients without further interaction. |
The new mapper must be added to the clients that exist already. In order to do this you have to open the tab Client Scopes for the client you want to configure. If the groups scope is not yet in the list you need to add it explicitly.
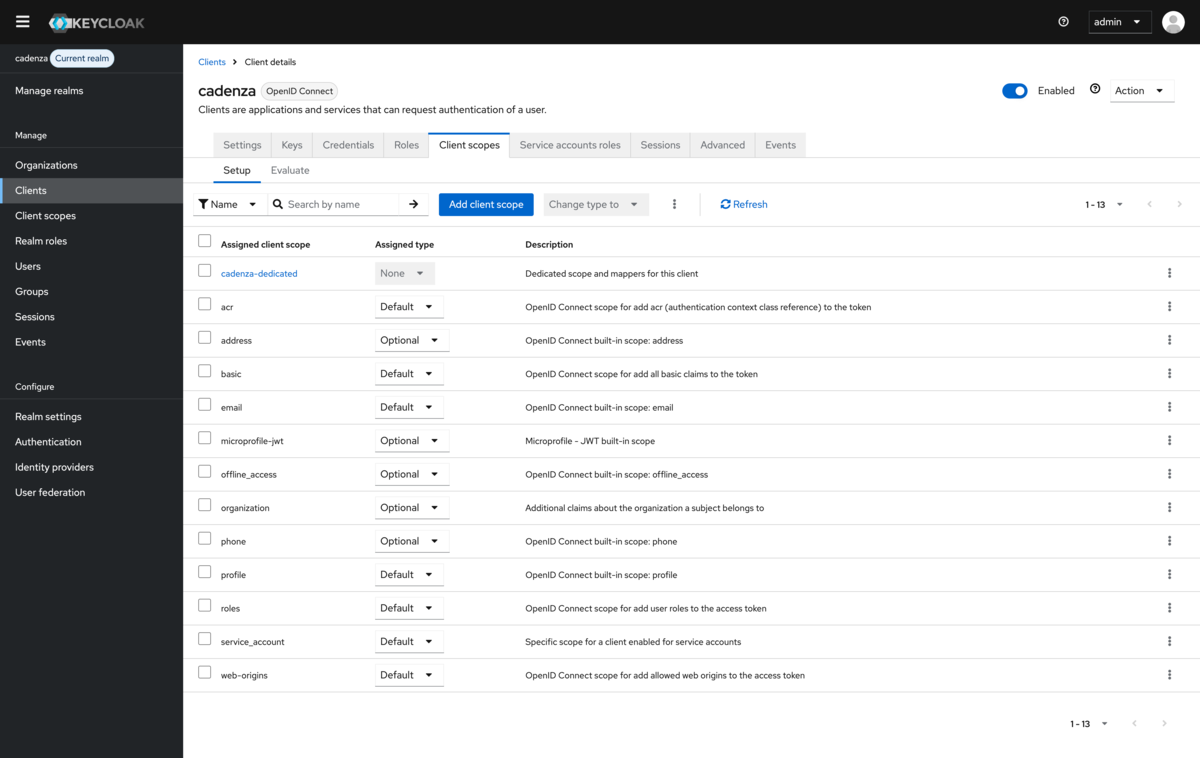
When adding the additional scope you have to make sure to add it as Default scope in order to add it to the tokens without requesting it explicitly.
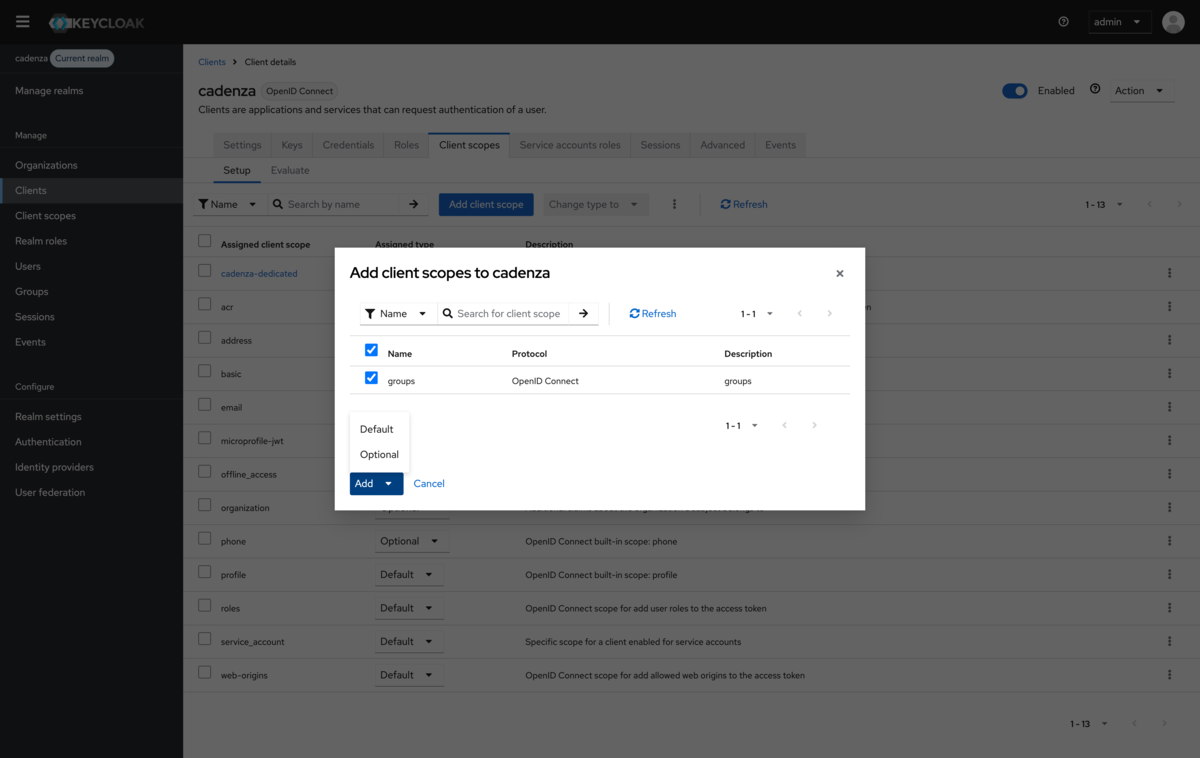
After the addition the groups claim will be added automatically to the access token and the ID token.
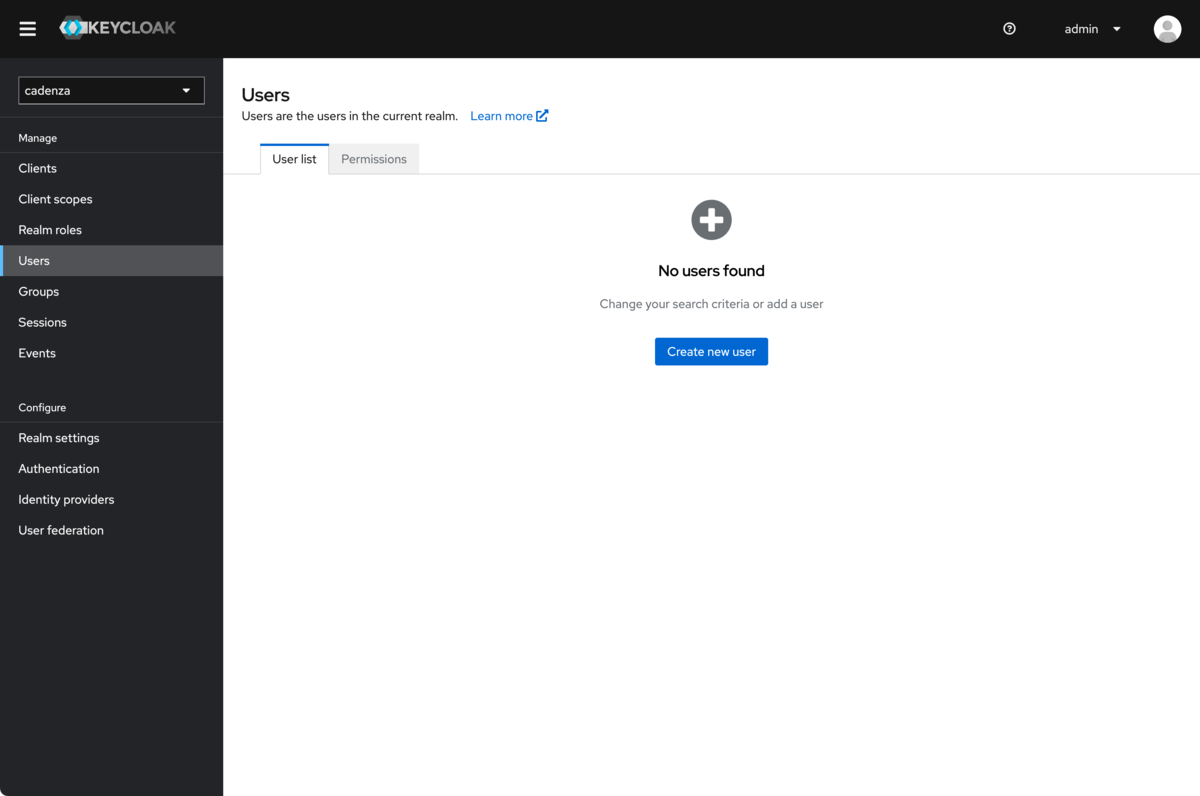
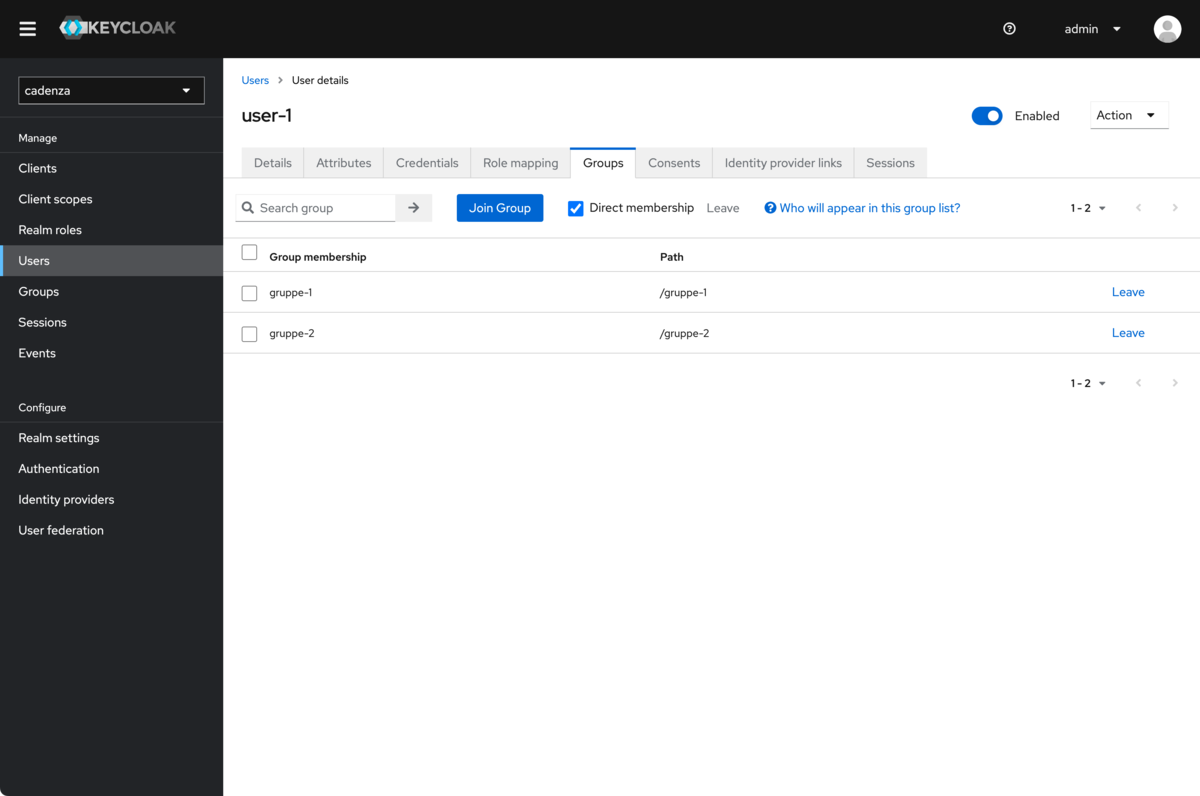
Creating one (or more) users
In order to be able to authenticate in Cadenza via Keycloak, one or more users have to be created. The newly created users must then be assigned to one or more of the previously created groups in order to receive authorizations in Cadenza.
-
Navigate to the Users section in the navigation
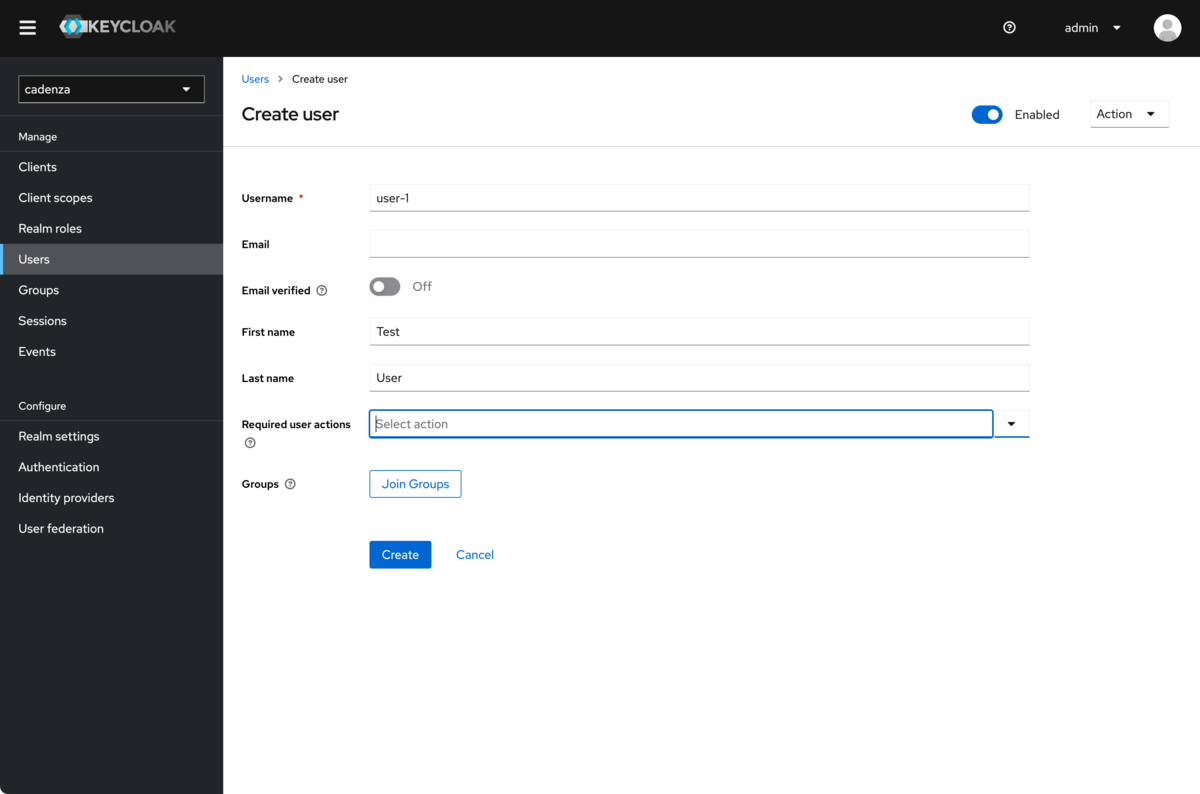
-
Create a user (e.g.
user-1)
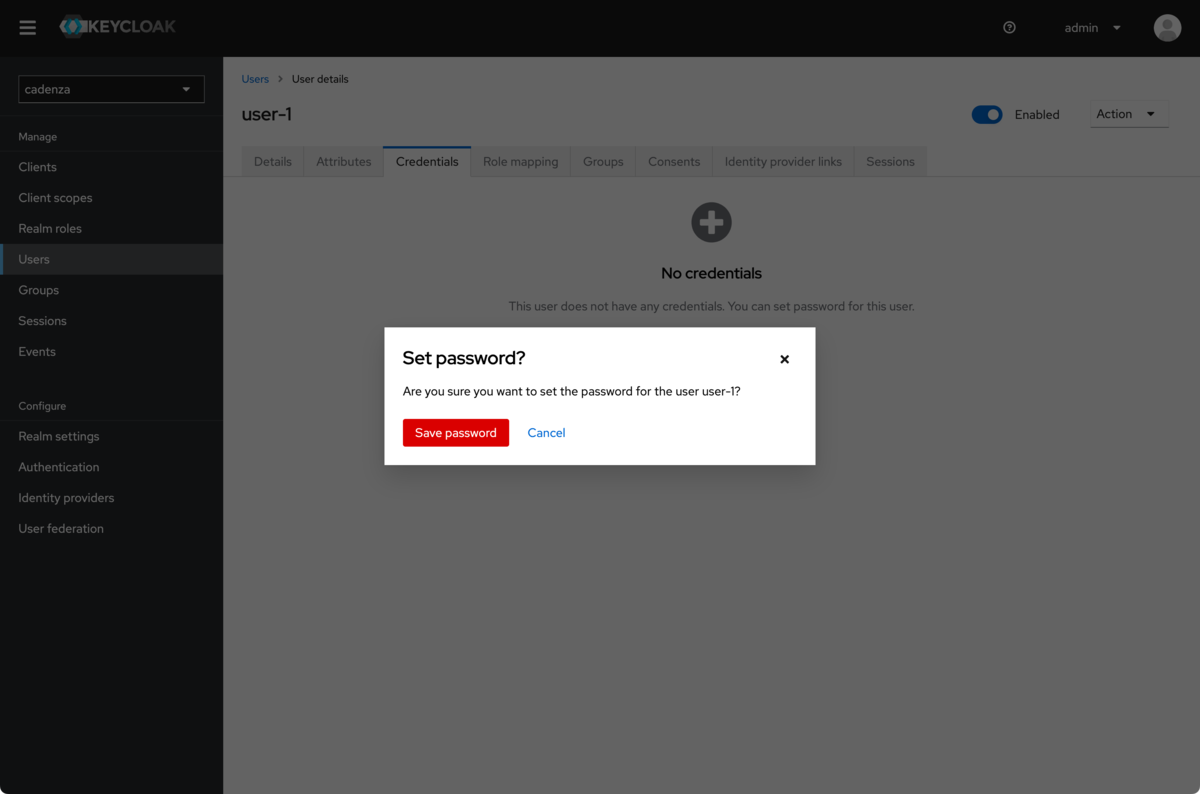
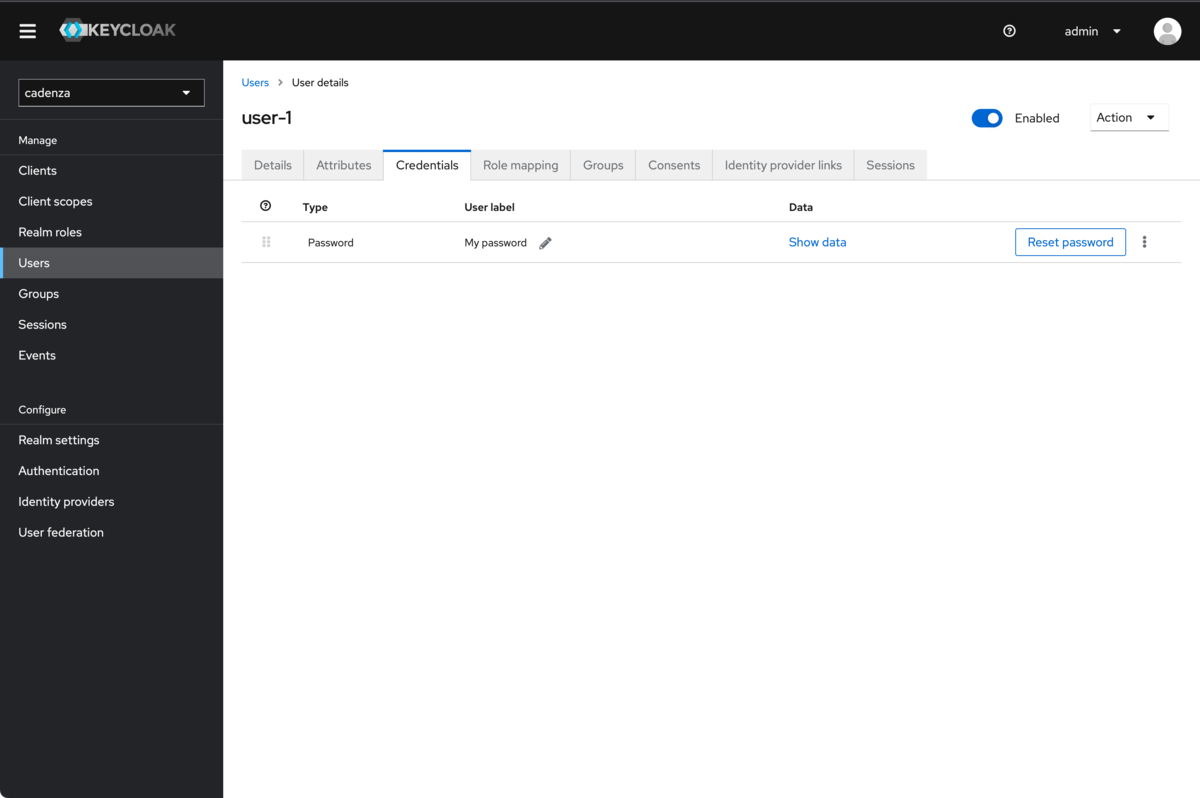
-
Set password

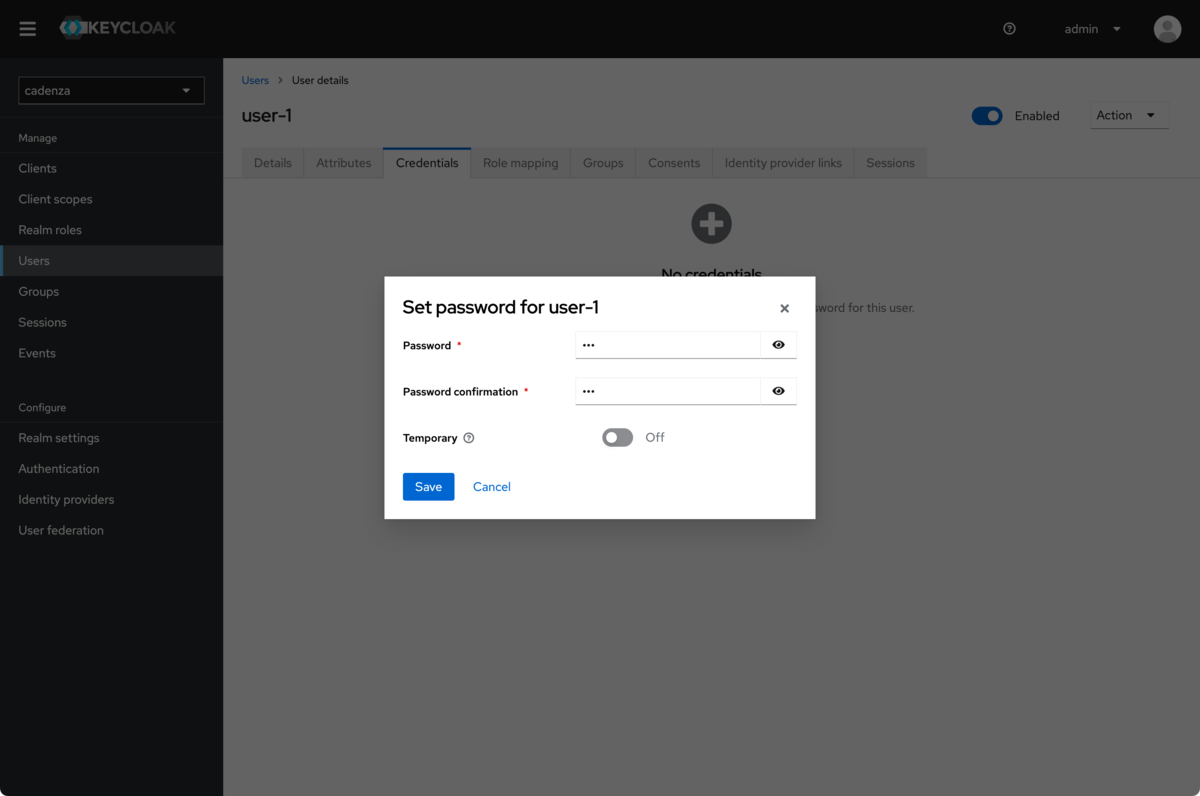
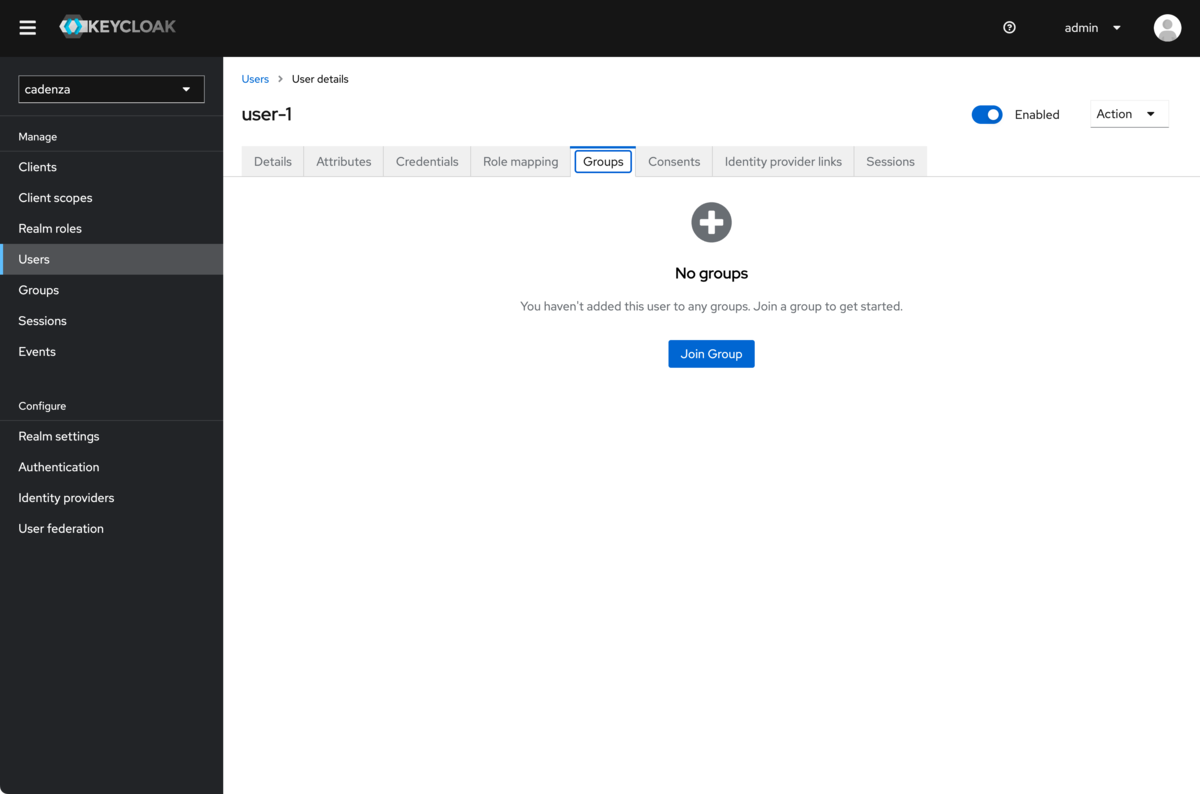
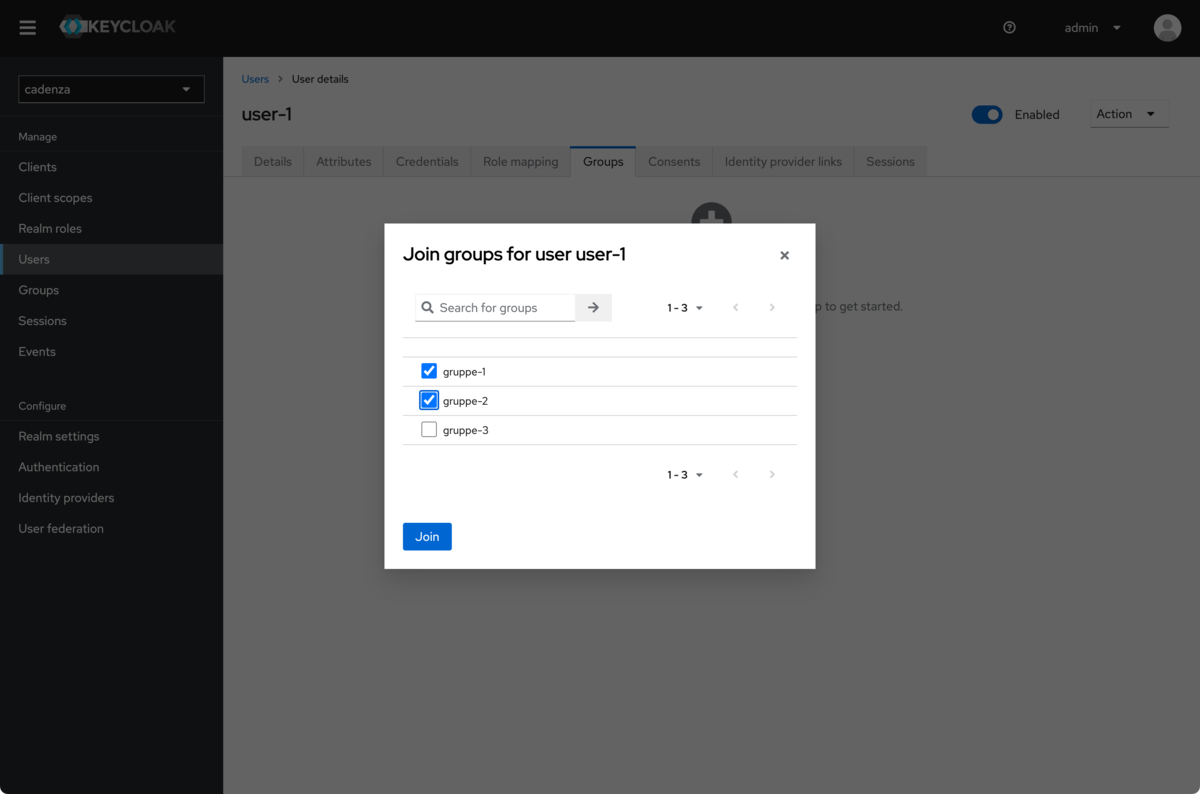
-
Assign groups
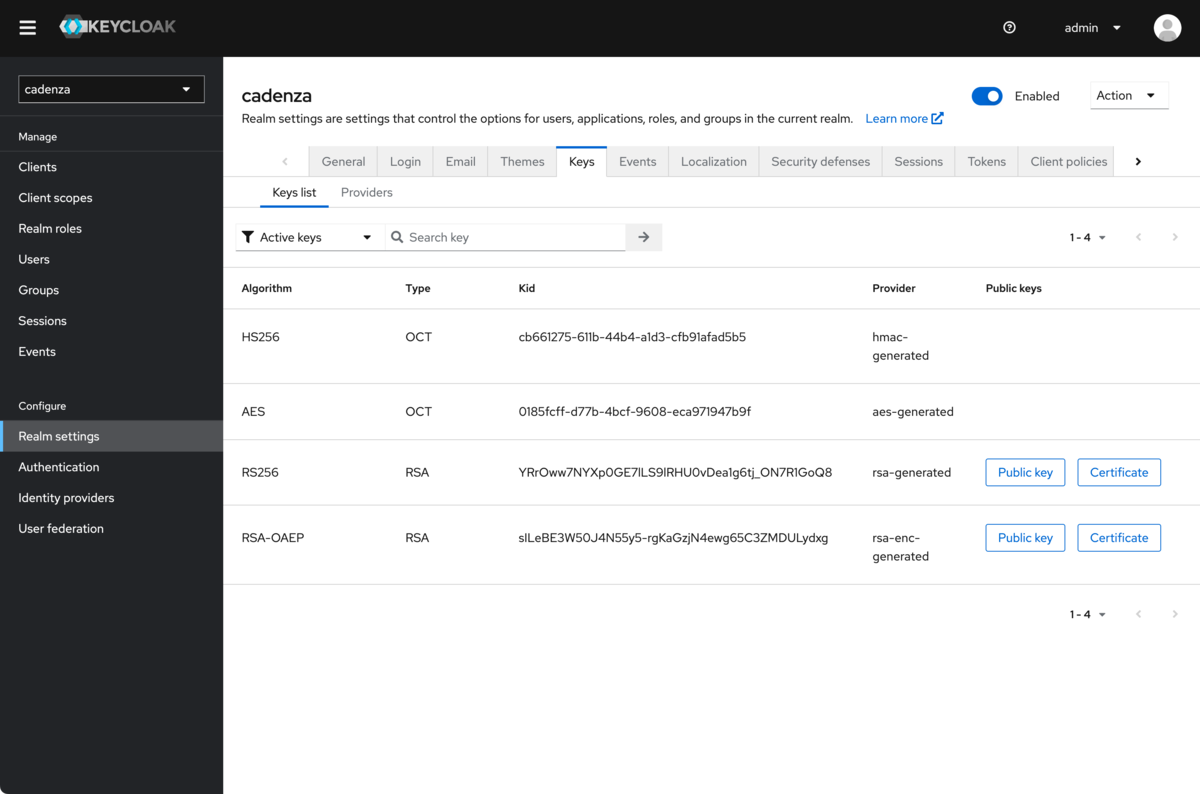
Determining the public key for the realm
In addition to the client ID and the client secret, the public key of the Keycloak server is also required. This can be found in the realm settings.

Additional and Optional Features with Keycloak
Keycloak offers an admin API which allows Cadenza to provide additional functionality, user impersonation and user suggestions. The use of this feature is only possible if access to the admin API is possible from the Cadenza server. If the access is allowed, the client in the IDP needs to be configured accordingly (see above) and the functionality needs to be enabled in the configuration (see configuration for the plugin AccessManager_OAuth).
Configuration of Keycloak for Impersonation and User Suggestions
| If you want to be able to use these features it must be possible for Cadenza to access the Keycloak Admin REST API. Without access to this API neither impersonation nor user suggestions can be used. |
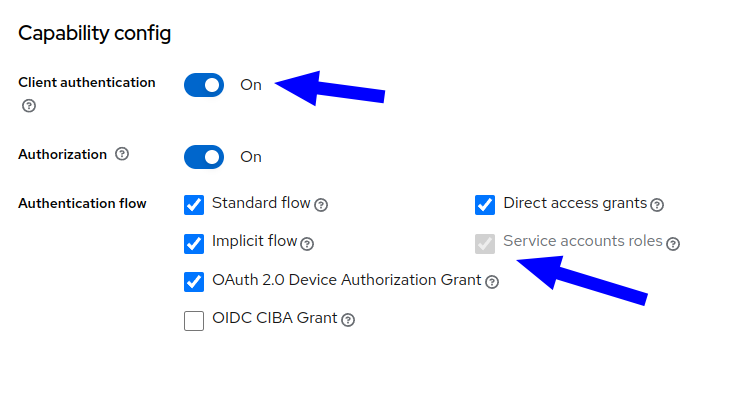
If you want to use Keycloak for the features user impersonation and user suggestions you will need to allow the client in Keycloak to authenticate itself using the client credentials. To do that you need to configure some options in the client in the Keycloak UI.
-
Enable client authentication (should already be activated)
-
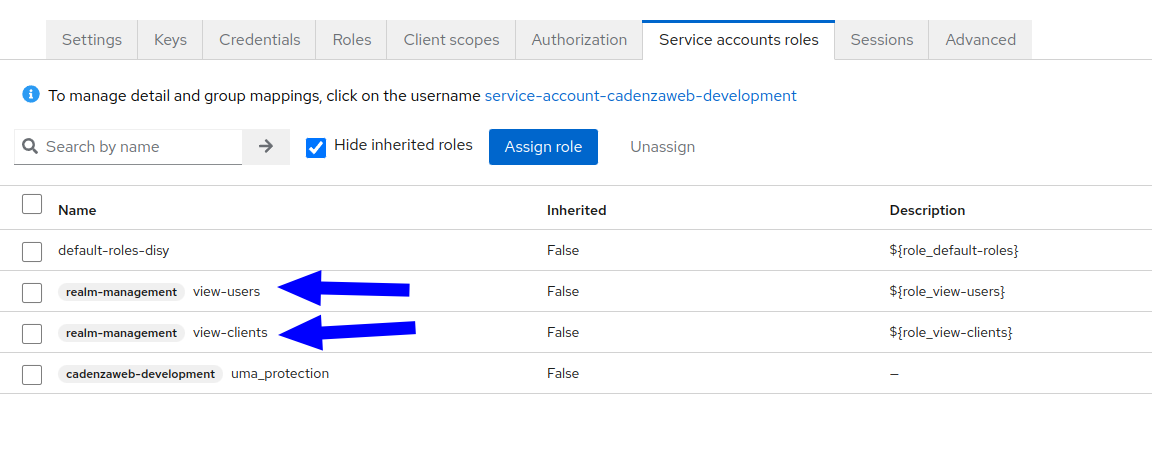
Enable service accounts roles
-
After enabling service accounts roles there appears a new tab with the name "Service Account roles". Here you need to assign the roles "realm-management - view-users" and "realm-management - view-clients".